Photography studio on a budget: Part 1
Part 1: Photographing Jewelry
(or Jewellery if like me, you're from Australia or the UK)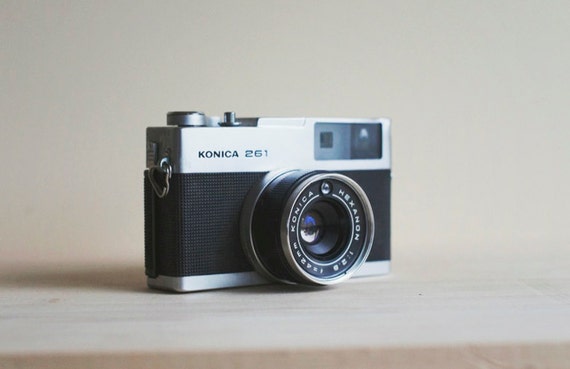 |
| vintage camera from secondhandreverie.etsy.com |
Here is something I've been asked a few times by other jewelry sellers and customers interested in how I take my photos... 'How do you make your jewelry photos look natural and warm?'
This is my mini photo studio, easily created with a few books, a white background (in my case, a cork board painted white), natural daylight and a warm toned reflector. Set up correctly, you can capture beautiful shimmering facets, reflections and the natural colors of your jewelry pieces by using the sunshine coming through a window.

1. Natural Daylight
Absolutely critical. Don't try to take photos at night using lamps and your camera flash. Those photos are washed out & it wont truly reflect what your product looks like. |
| not so great photo example: washed out colors |
Natural daylight is best and indirect daylight is even better. If you try photographing in full direct sunlight it can be really over exposed (much too bright).
 |
| contrast is too high and shadows too dark |
 |
| Good balance of light and dark where the true colors and feeling of the piece is represented |
I like to use daylight filtering through a sheer curtain or light that is coming in through a window and reflected off light walls or a warm timber floor.
2. Gold or silver reflector... and a light background/surround
I've only recently bought myself a proper 110cm gold/silver reflector (for taking portrait photos for my artwork) but I LOVE using it! It makes it so much easier to balance the light and dark when doing close up shots of jewelry and makes a huge difference to the amount of post processing I have to do on my photos.Simply, it cuts editing time down to a few seconds of cropping and re sizing rather than having to do a color balance and levels adjustment on every shot. Um, maybe this is a bit technical... I'll stop blabbering on about photo editing for now but it is a pretty important step if you want to improve your snapshots to make them look amazing online.

Anyway, you can pick up a nice double sided reflector for around $20-$50 depending on the size. I got mine from www.camerasdirect.com.au
Or...if you're on a really tight budget, find a yellow toned or light sheet/cloth and hang it where the reflector would be positioned. Just having light colors in the background of your makeshift studio will improve the overall lighting quality. If you have dark walls and a dark floor, there isn't going to be alot of ambient light to help lighten up the shadows and reduce the contrast in your photo.

3. Sorting and Tagging
This is just a side note: when I'm photographing lots of similar items in one photoshoot it can get really tricky and time consuming trying to match up the photos to the correct item...so I now label every piece with a little paper tag, just folded over on itself and stapled, slipped onto the chain...so it's easy to remove and put back on when I'm finished with the piece. I also put a number on the tag and make sure I photograph everything in numbered order so I know how to label my photos later on. And when I'm listing each item online I can put a little note on the tag that says 'Listed' or 'Sold' .... such a simple little thing but it keeps me organised :)
4. Backdrops
As you've seen, I love using pages from books and printed pictures as the backdrops for my photos. The images I choose are things that either inspired the piece to begin with or that complement the colors and theme of the item. My charm bracelets are woodland themed and inspired by mythology, fairytales and botanical nature. So it is fitting that they should be photographed on a warm colored or nature themed backdrop...with woods, mountains, fields, nymphs, fairies, flowers and woodland creatures frolicking across the flat surface.
Keeping to a theme makes my images recognizable as part of a collection. The most successful (and inspiring) jewelry sellers I've seen on Etsy all photograph their items with a theme or a particular technique that sets them apart and promotes their unique 'brand'...or captures a particular 'look' or fashion style.
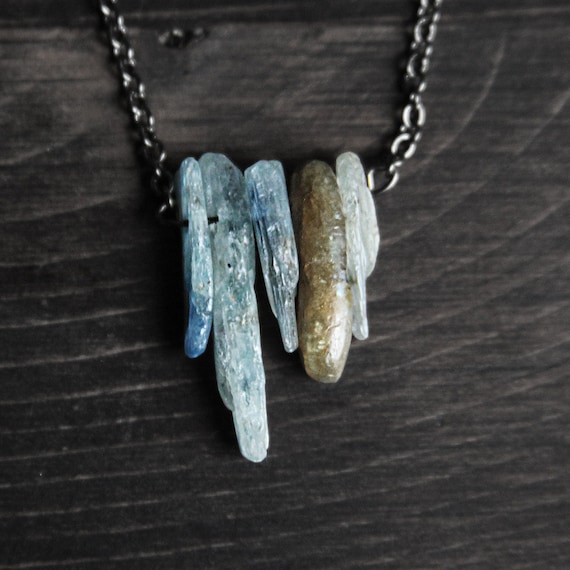 |
a modern take on nature inspired jewelry - fromurbanaviaryco.etsy.com |
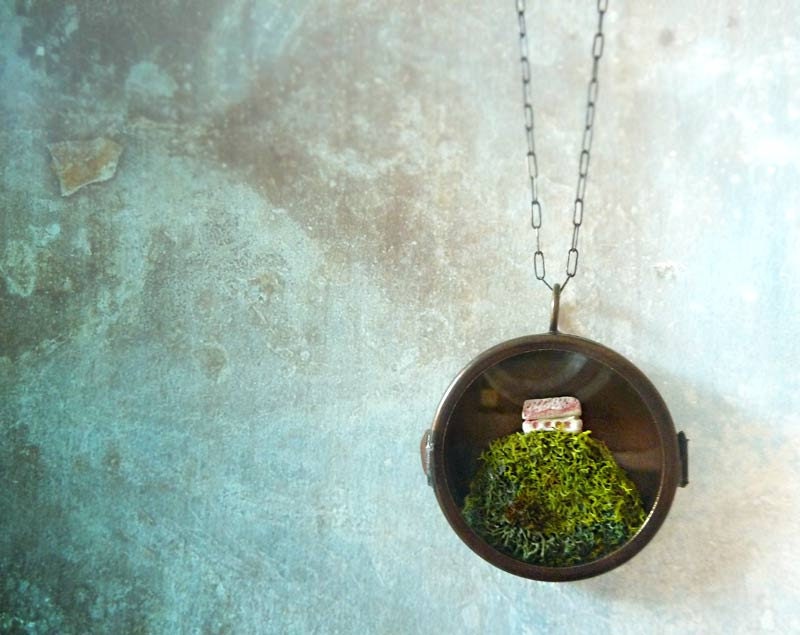 |
terrarium moss brass locket - fromRenataandJonathan.etsy.com |
5. Models
Oh how I wish I had a beautiful model just waiting around for me to decorate her with jewelry and snap away pictures to my hearts content! Ok, so I could probably ask a couple of people I know to give up a few hours of their time to occasionally come around and do some modelling for me... its just a matter of organization and the right kind of bribery. Smiling sweetly and offering a plate of homemade chocolate brownies can work wonders! |
| www.seaofbeesjewelry.com/product/bird-head-ring |
Using a model helps sell your jewelry. It really does. If a customer can see what the piece looks like when worn...they can see what clothes it suits, the size, the colors against someones skin, or hair... and they can imagine themselves in the picture, wearing the piece...
What occasion they might wear it to is something else you can highlight in your photos if you have a few props or a nice setting, create a make believe garden wedding, or get a group of young girls together to model a collection of pieces with different outfits and take some photos of the models behaving naturally...or perhaps play acting as characters... I've seen this kind of photoshoot concept used very well by the creators of 'Sea of Bees' Jewelry.
 |
| FASHION PHOTOGRAPHY BY CRISTA LEONARD © www.cristaleonard.com |
I'll have to add a part 2 to this post just to fit in some of the more technical aspects of photo editing and how to improve photos with a little bit of post processing in photoshop... so keep a look out for that if you're interested.
xxx


Hi Ginger,
ReplyDeleteLovely and informative post. Really well done.
Photos are tricky business. We shoot outdoors a lot. Color correcting and sometimes adding texture with Adobe Photoshop. Creating a consistent look and feel to one's shop is really essential.
Love to work with models one day, too. Would be a lot of fun and curious to see the impact on sales.
Thank you very much for including us in the post!
oxox
Renata and Jonathan
Thanks Renata & Jonathan! Glad to hear you enjoyed it :) I love your shop!
Deletexxx Lauren